So I've realized that the majority of people following me don't actually know me in person. That's kind of cool! But it also means you have no clue why some lady is busy posting tutorials about everything from hair bows to sushi. So I thought I'd do a quick post about why I started crafting and blogging. Most of my favorite blogs are much chattier than I've been, anyway! So I'll try to slip in a little bit more about my life in the future.
(The promised bread-baking post will go up soon ... the pics are on my hubby's phone because the camera battery died. I'll have to corner him and force him to upload them under threat of no-more-homemade-bread-until-you-get-it-done.)
I've always been artsy - my undergrad degree is in lighting design for the theatre - but I can't draw or paint to save my life. I'm much more of a fiddly, hands-on, 3-D type. So I always liked to craft, although I never spent enough time on a specific craft to get good at it.
I'm also a big crunchy hippie - I even lived on a farming commune once - and I believe very firmly that crafting makes a statement. It's a rejection of quick-satisfaction consumerist culture that separates us from the process of creation and from an understanding of our interdependence. It's also a fun and meaningful way to reclaim traditionally female domestic arts for the modern feminist. Fun with philosophy!
But what really got me to start producing and selling was a lot of heartache. Two years ago, literally days after we got married, my husband lost his job. I finished up grad school in a hurry and we had to leave a city we adored in search of work. We were lucky to find something for both of us halfway across the country, but my husband had to take a very low-paying position that only lasts a year. It's been a great experience for him, but that year is almost up. Is he going to be able to find fulfilling and decently compensated work in his field? I don't know. Is that work going to be in Timbuktu? Maybe. So basically, even though I'm lucky to have a very wonderful and personally meaningful job that pays the bills, I've been feeling very out of control. Not my favorite thing. Really not. Really, really not. And that's on top of the normal stress of starting over in a new city, trying to make new friends, find a new synagogue, and just generally put down our poor aching roots again.
So re-enter my crafting. It's incredibly soothing to be making something beautiful and tangible. Being productive makes me feel valuable, and reminds me that there are parts of my life I can control; I can always nurture my creativity and try not to let stress or depression get the better of me. That helps me let go of the bits that never go as planned anyway. I also love the idea that I can make things to bring a little happiness to other people. And hopefully it will also generate a little extra income, especially if one or both of us winds up out of work again.
As for why I'm blogging about it - I really want this to be a vehicle to connect with other creative people. So please leave a comment, share links to your blog and your favorite blogs, or just be in touch. Let's be friends.
Saturday, June 4, 2011
Sunday, May 22, 2011
Amazing Bread, Ridiculously Fast
I'm so excited - my new favorite-ever book, Artisan Bread in Five Minutes a Day, finally came in from Amazon!
 I'm normally skeptical of anything that makes that kind of claim - it reminds me of some oily-looking creeper in an infomercial trying to sell you a get-rich-quick scheme. But I tried this on a recommendation from a friend, and seriously, it is the easiest bread I have ever made. It is easier than using the bread machine. And the product is way better - these are amazing artisan-style loaves with cracked, crispy crusts and light, moist insides.
The secret is that you don't try to do everything at once. The first day, you just make the dough - the easiest bread dough you've ever made, and no kneading. It really is about five minutes of hands-on time (ok, maybe closer to ten for me, but that's because ingredients are all in crazy places in my small kitchen). Then you let time do the work as it sits in your fridge. Because the dough is very wet, it keeps for a long time without drying out. So when you want a loaf, just pull off a hunk, let it rest, and bake. You make a big batch - the single recipe makes four one-pound loaves, and you can easily double it - and you're ready to go for weeks. Amazing!
Basically, you have to try this!
I made the brioche dough, which has several more ingredients than the basic recipe. So if you start with the basic recipe (which you should, it's great and very versatile) you will have an even easier time.
I have a big tupperware - a large dough bucket is better. Extra bonus - you can mix and store in the same container, so there are no bowls to clean!

This is a mixture of water, honey, salt, eggs, melted butter, and yeast. (Another way this recipe is flexible - use whatever yeast you have. Bread machine yeast, rapid or quick rise, active dry - doesn't matter. The long rise time will even it out. I guess cake yeast would be different, but since I've never even seen it much less used it, I won't worry about that. )
Here's how I know it's going to taste amazing:

Yep, there are three sticks of butter and 8 eggs in this recipe. (It does make four loaves. But still.)
Then I added a whole lotta A-P flour.

A little elbow grease for the mixing. Just mixing - no kneading! That's right - no sticky countertop or bread board, no wasting huge quantities of flour to keep it from sticking, no mess, no sore arms. Now it's brioche!

Cover loosely and let it sit on your counter for a couple hours. Then put on the top (again, not airtight), pop it in the fridge or one-pound portions in the freezer, and you're done for today! It took me longer to write this post than it did to make dough for four loaves of bread.
I'll post the baking steps soon (om nom nom). The dough is super-versatile; you can just make a loaf, or you can make it into cinnamon rolls, coffee cakes, challah, dinner rolls ... you get the idea.
I left the exact measurements out because I don't think the authors would really appreciate me spreading their copyrighted ideas all over the interwebs. But you can almost certainly get the book at your local library for exact amounts. I just wanted to show you how easy and fun this is!
Sunday, May 15, 2011
Free shipping!
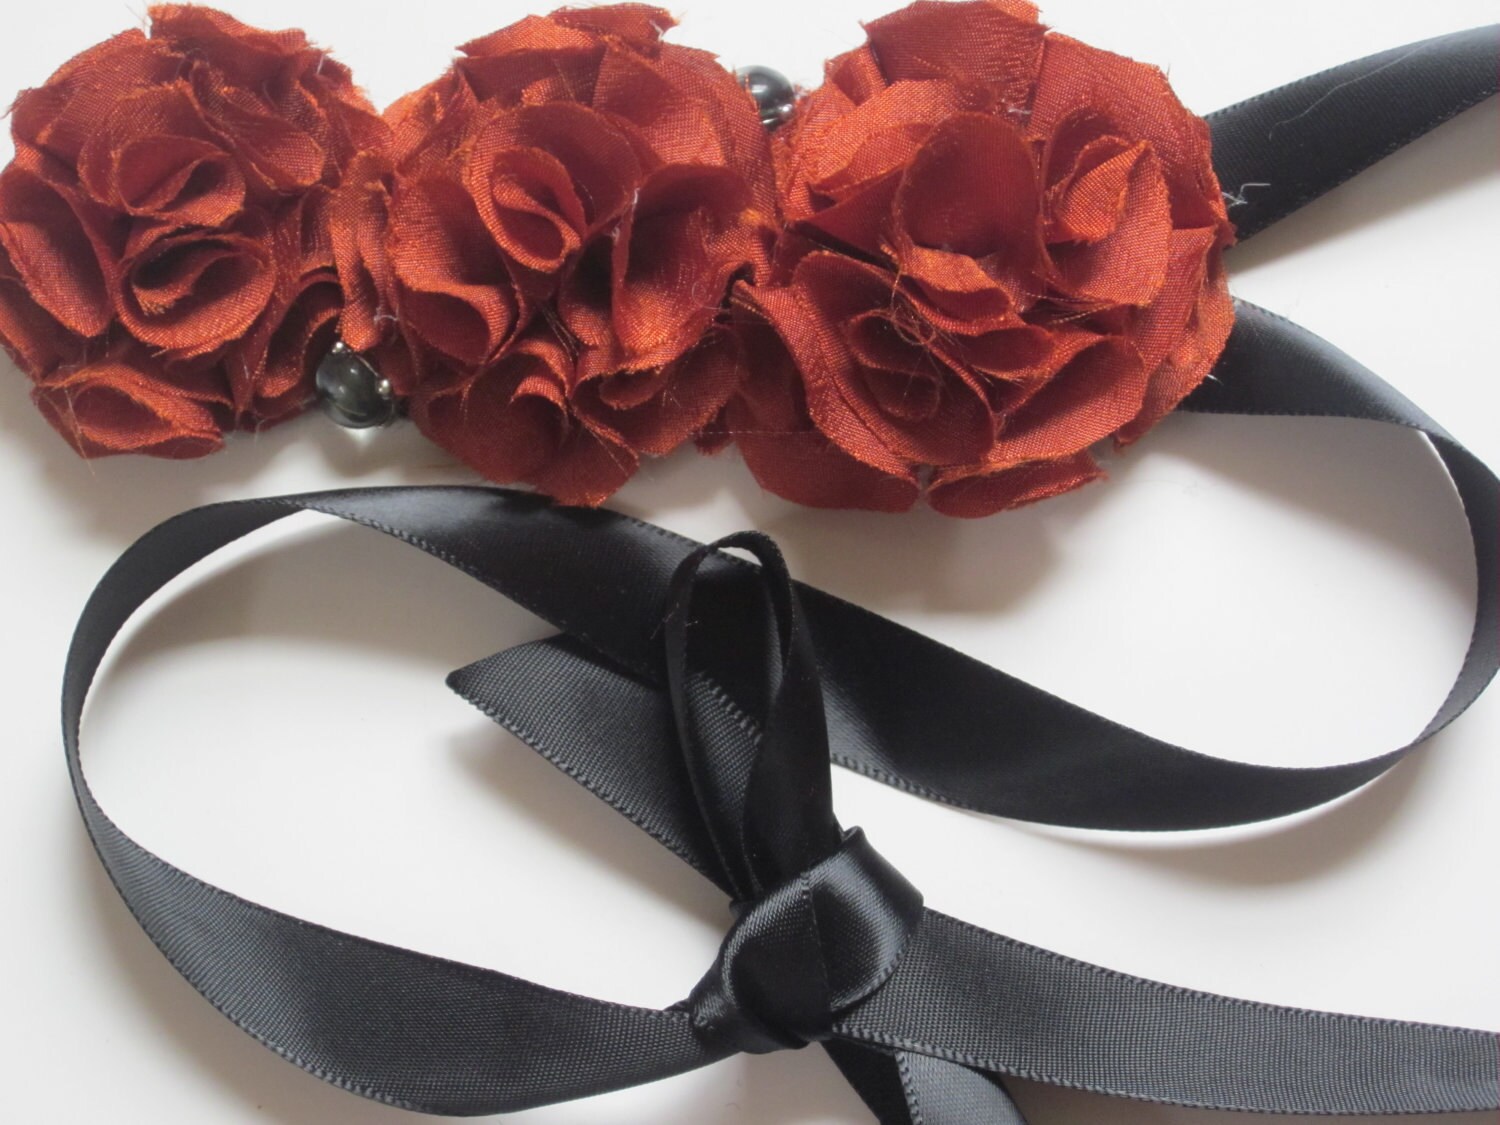
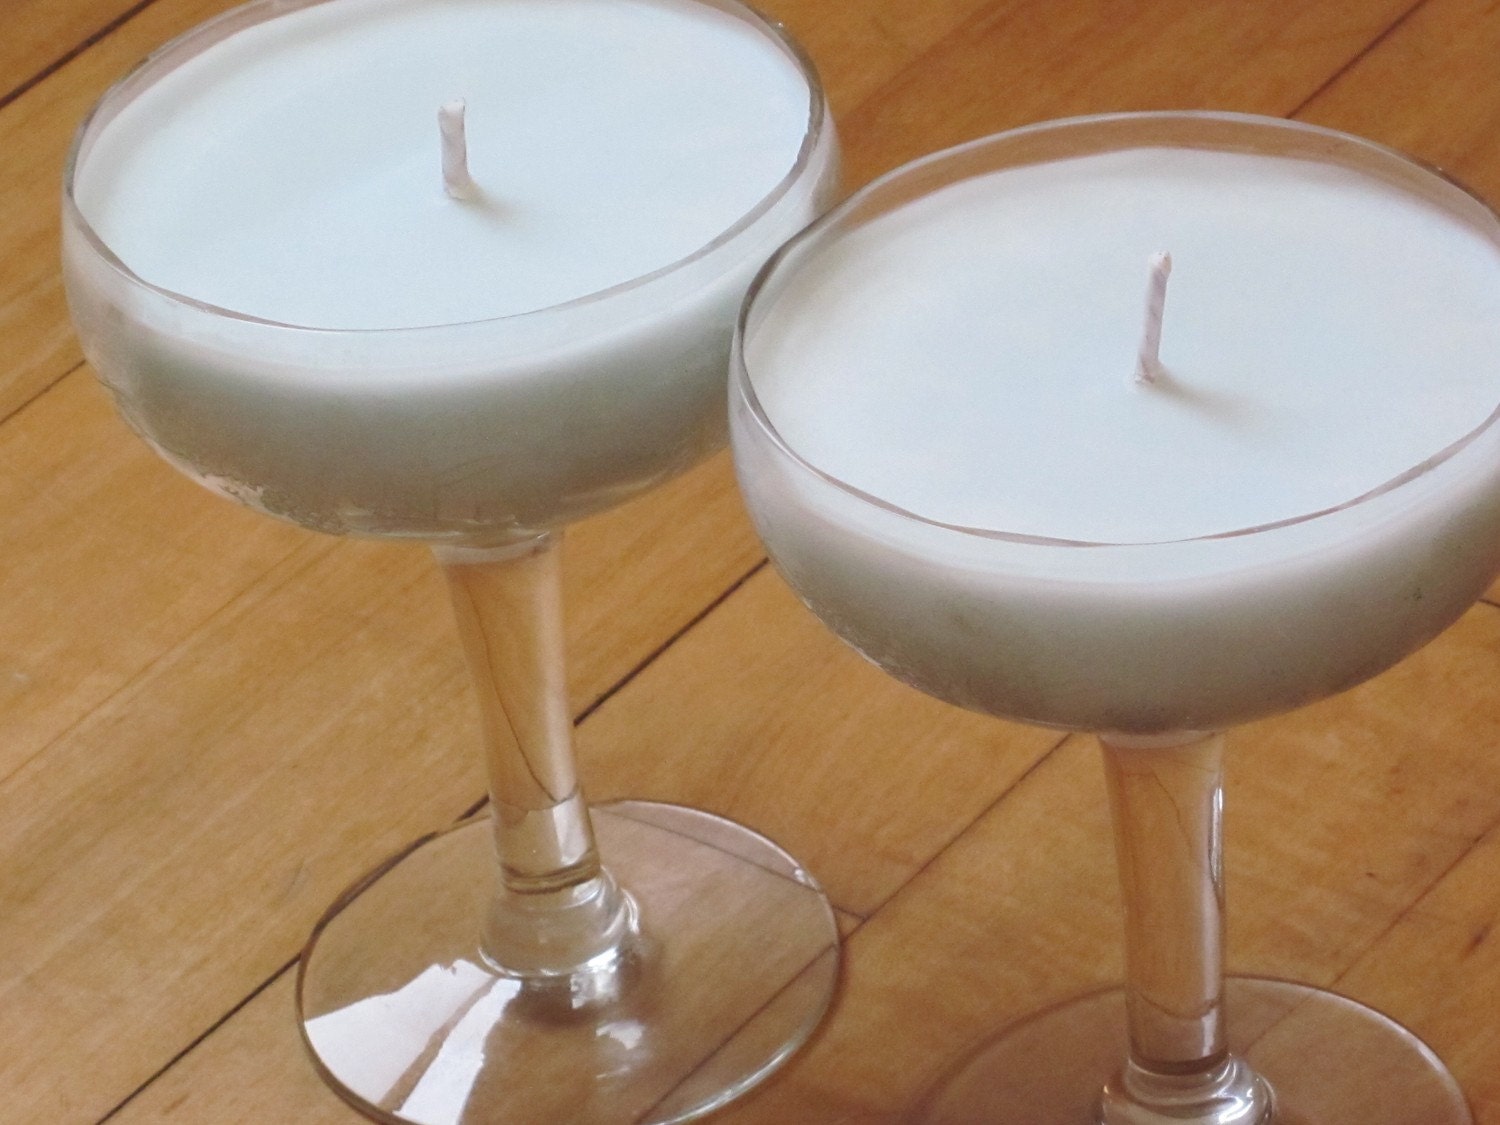
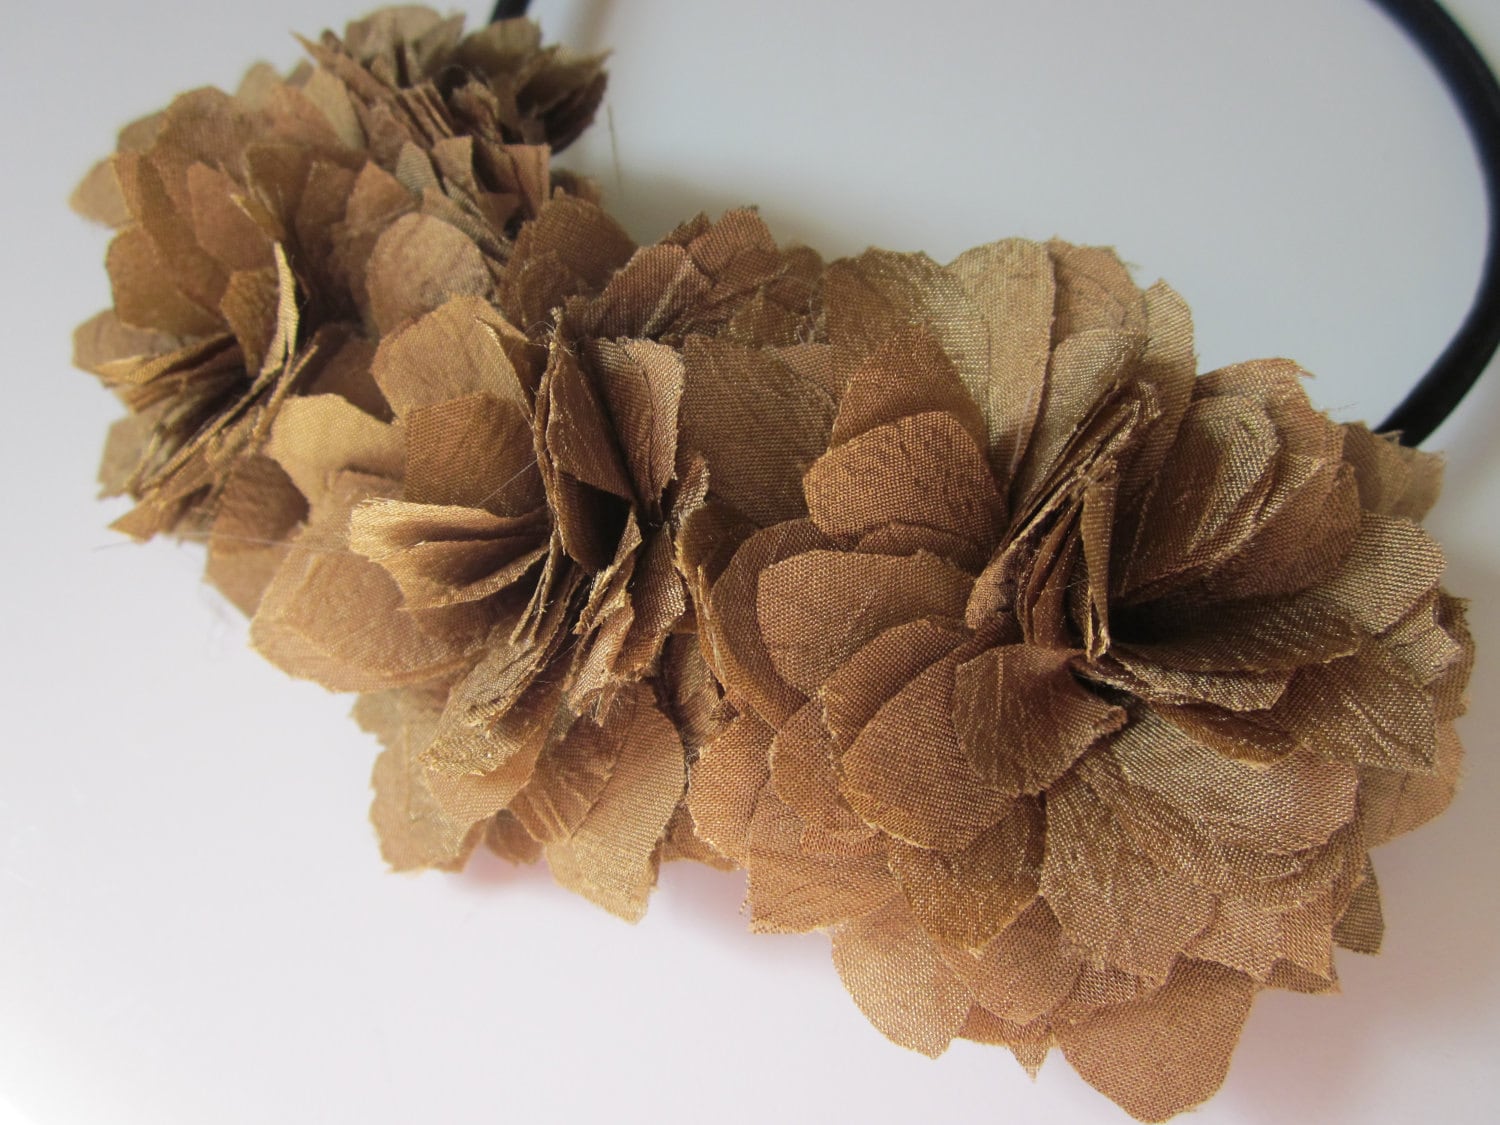
I just started a free shipping promo on my shop! Use coupon code SHIPFREEMAY2011 and spoil yourself with some gorgeous floral jewelry or eco-friendly soy candles!
If you want to share the promo on your own page, I will love you forever. Just please ask people to "like" my facebook page or "favorite" my Etsy shop!
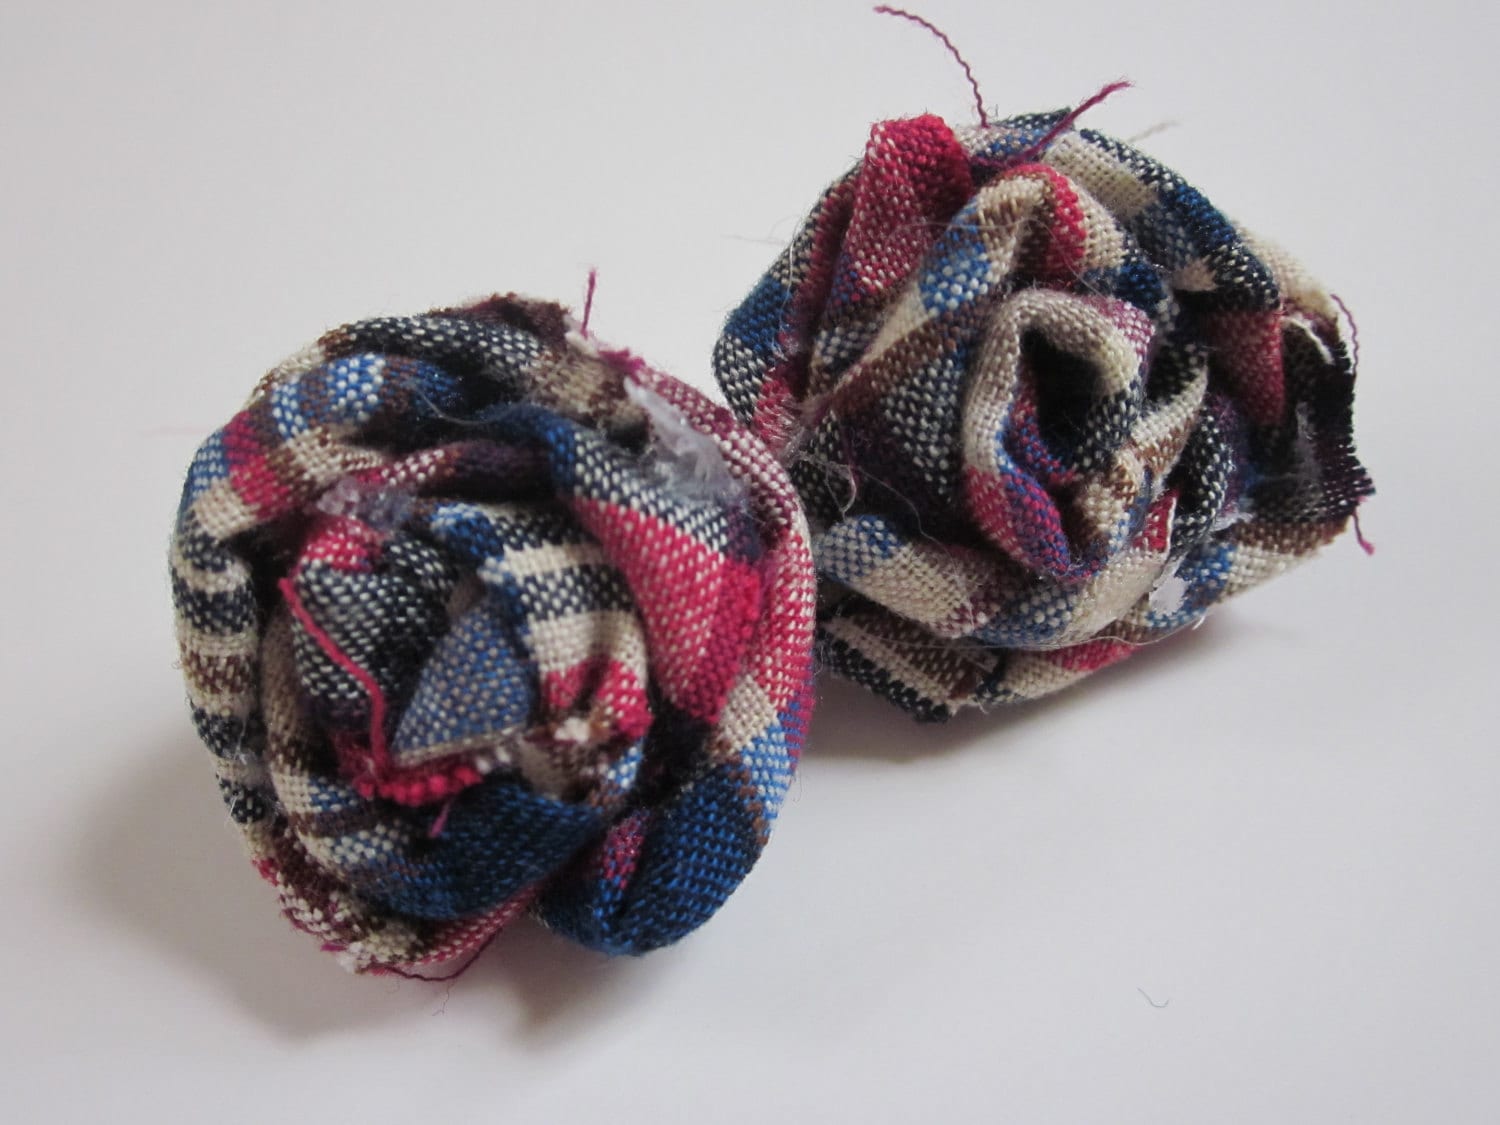
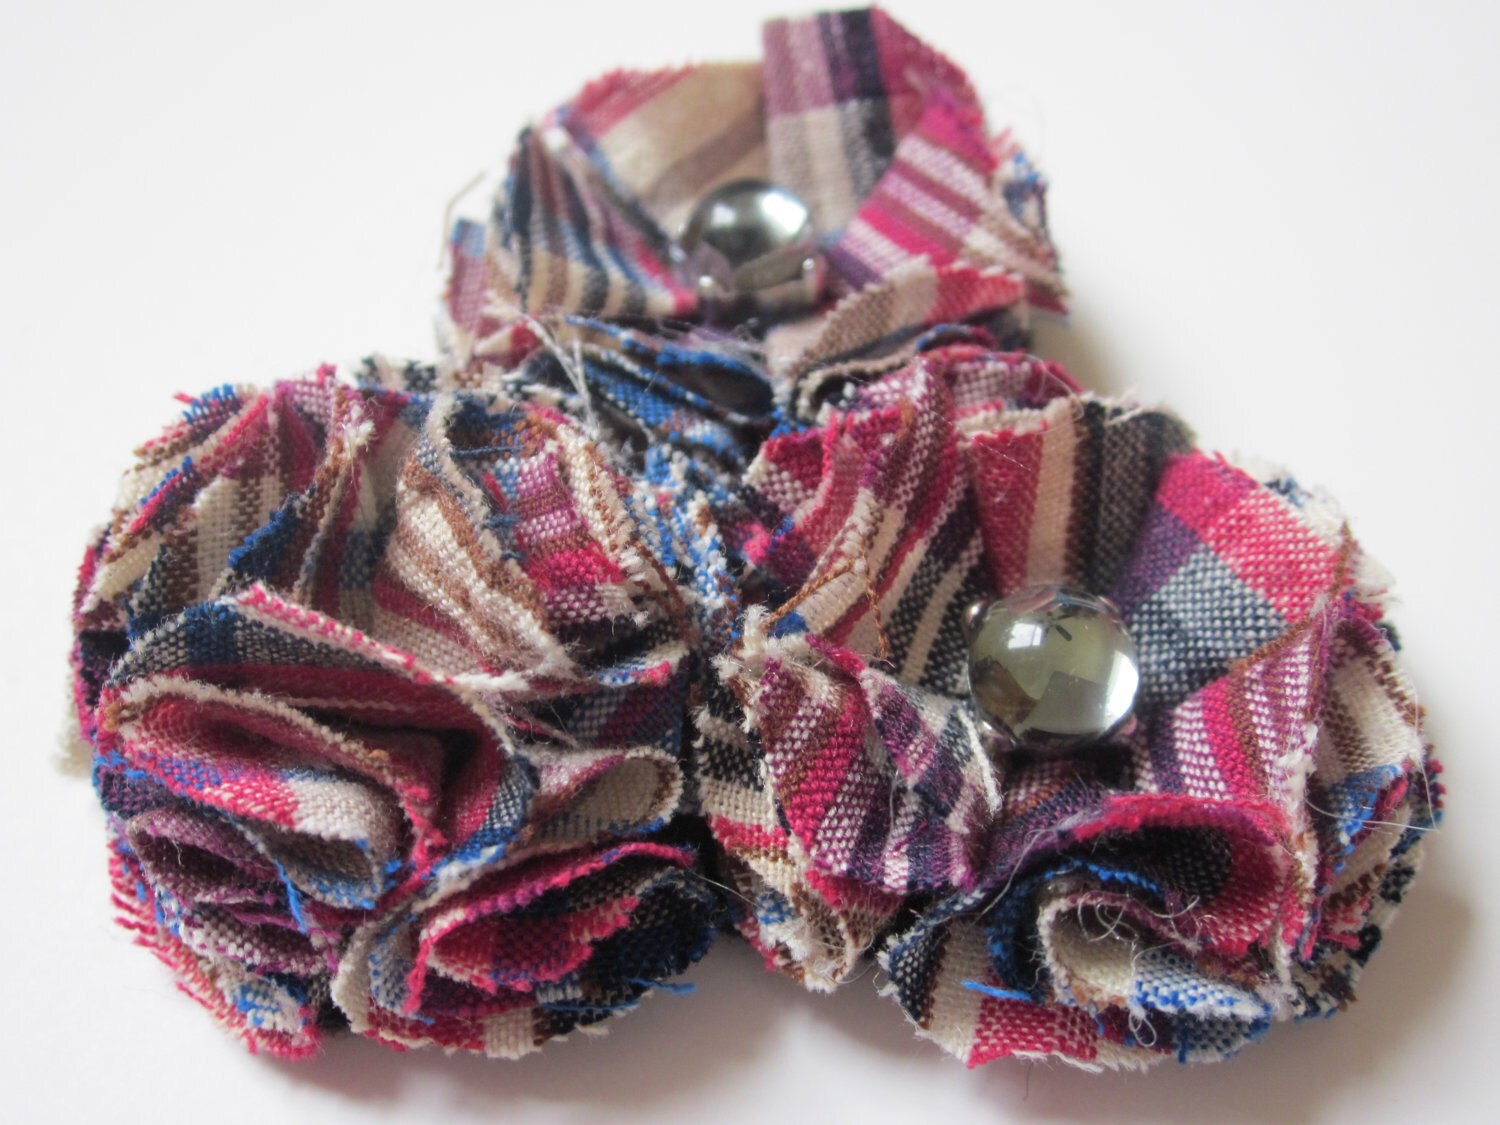
I added a bunch of new items today, including some new types of things like fabric flower necklaces and earrings, so take a gander :-) Just a few of my faves, old and new:
(Sorry for the double post today. Just wanted to get the word out!)
If you want to share the promo on your own page, I will love you forever. Just please ask people to "like" my facebook page or "favorite" my Etsy shop!
I added a bunch of new items today, including some new types of things like fabric flower necklaces and earrings, so take a gander :-) Just a few of my faves, old and new:
(Sorry for the double post today. Just wanted to get the word out!)
Easy Knitted Lace
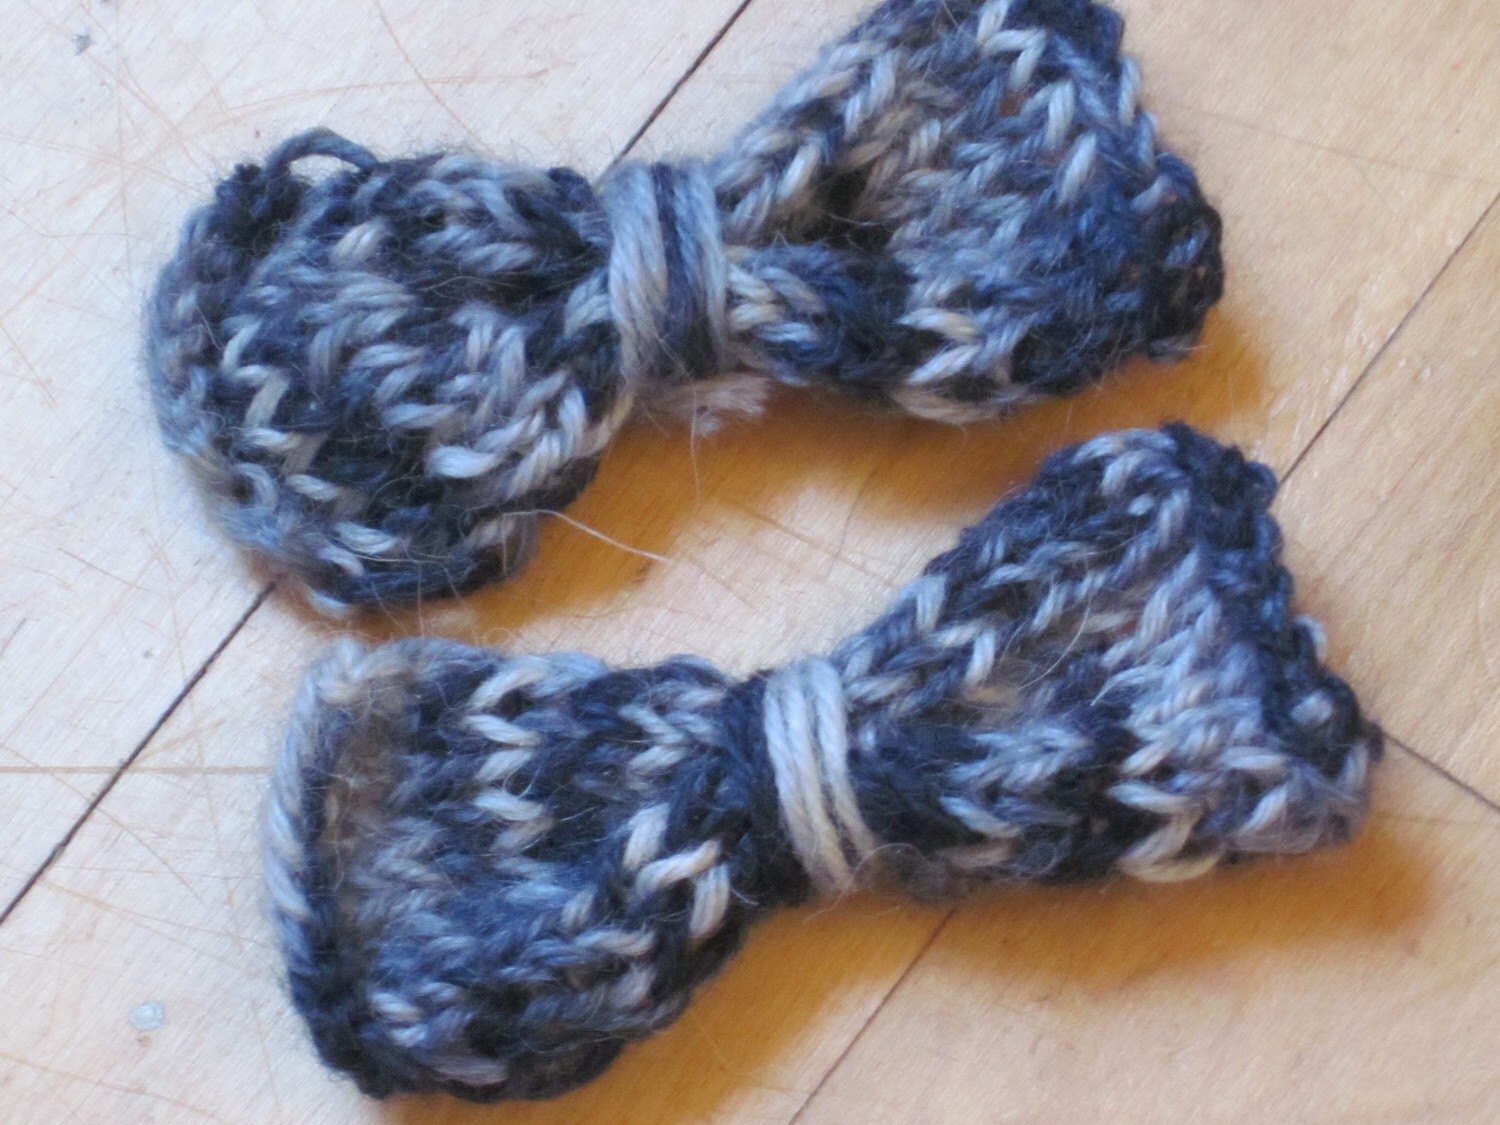
My newest knitting project, courtesy of Knitty.com. The pattern is called Palette.

I've always been a little wary about knitting lace. I get all excited about some pretty pattern that only takes one skein of yarn, and then I knit about six inches, realize I can't see the lace pattern at all, panic, and stuff it in the back of a drawer somewhere.
So when I tell you that this pattern is easy, easy knitted lace, believe me! Totally unintimidating. Just do buy more yarn than the pattern says. I thought I could get away with one skein (this is Lion Brand Moonlight Mohair, color Glacier Bay) only to run out less than halfway through. I knit pretty tightly, but still.
The running-out-of-yarn hiccup kept me from giving this as a mother's day gift. Birthday present it is!
Tuesday, May 10, 2011
New Etsy Stuff!
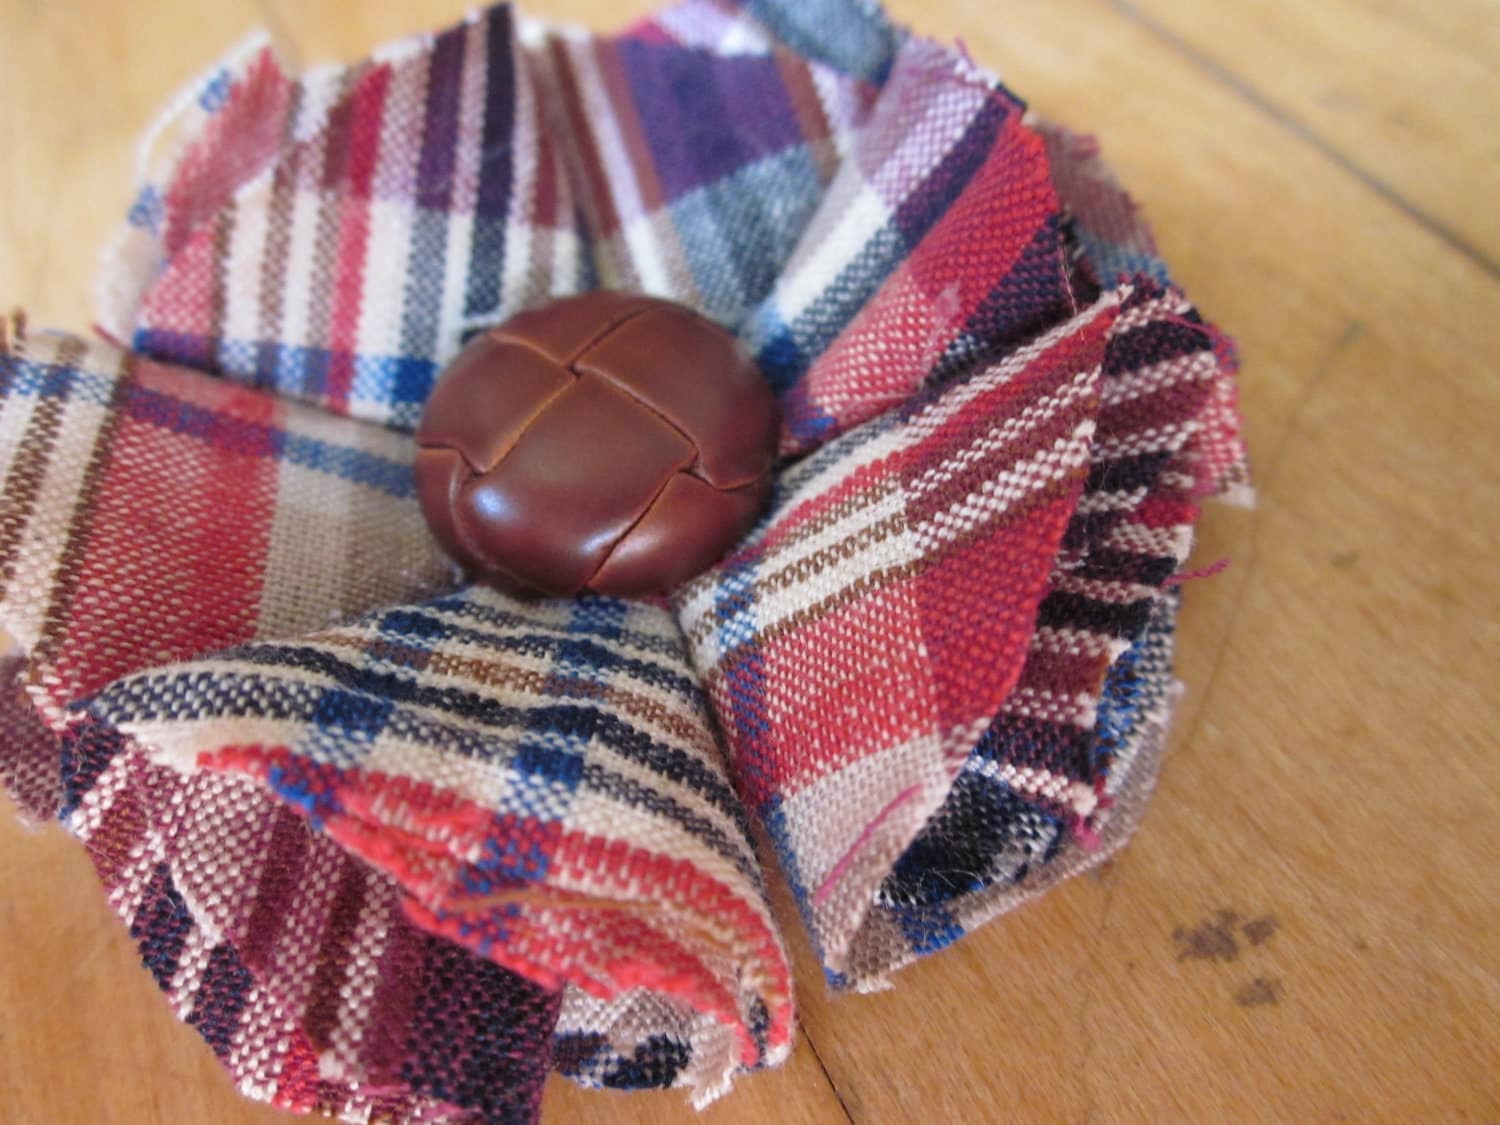
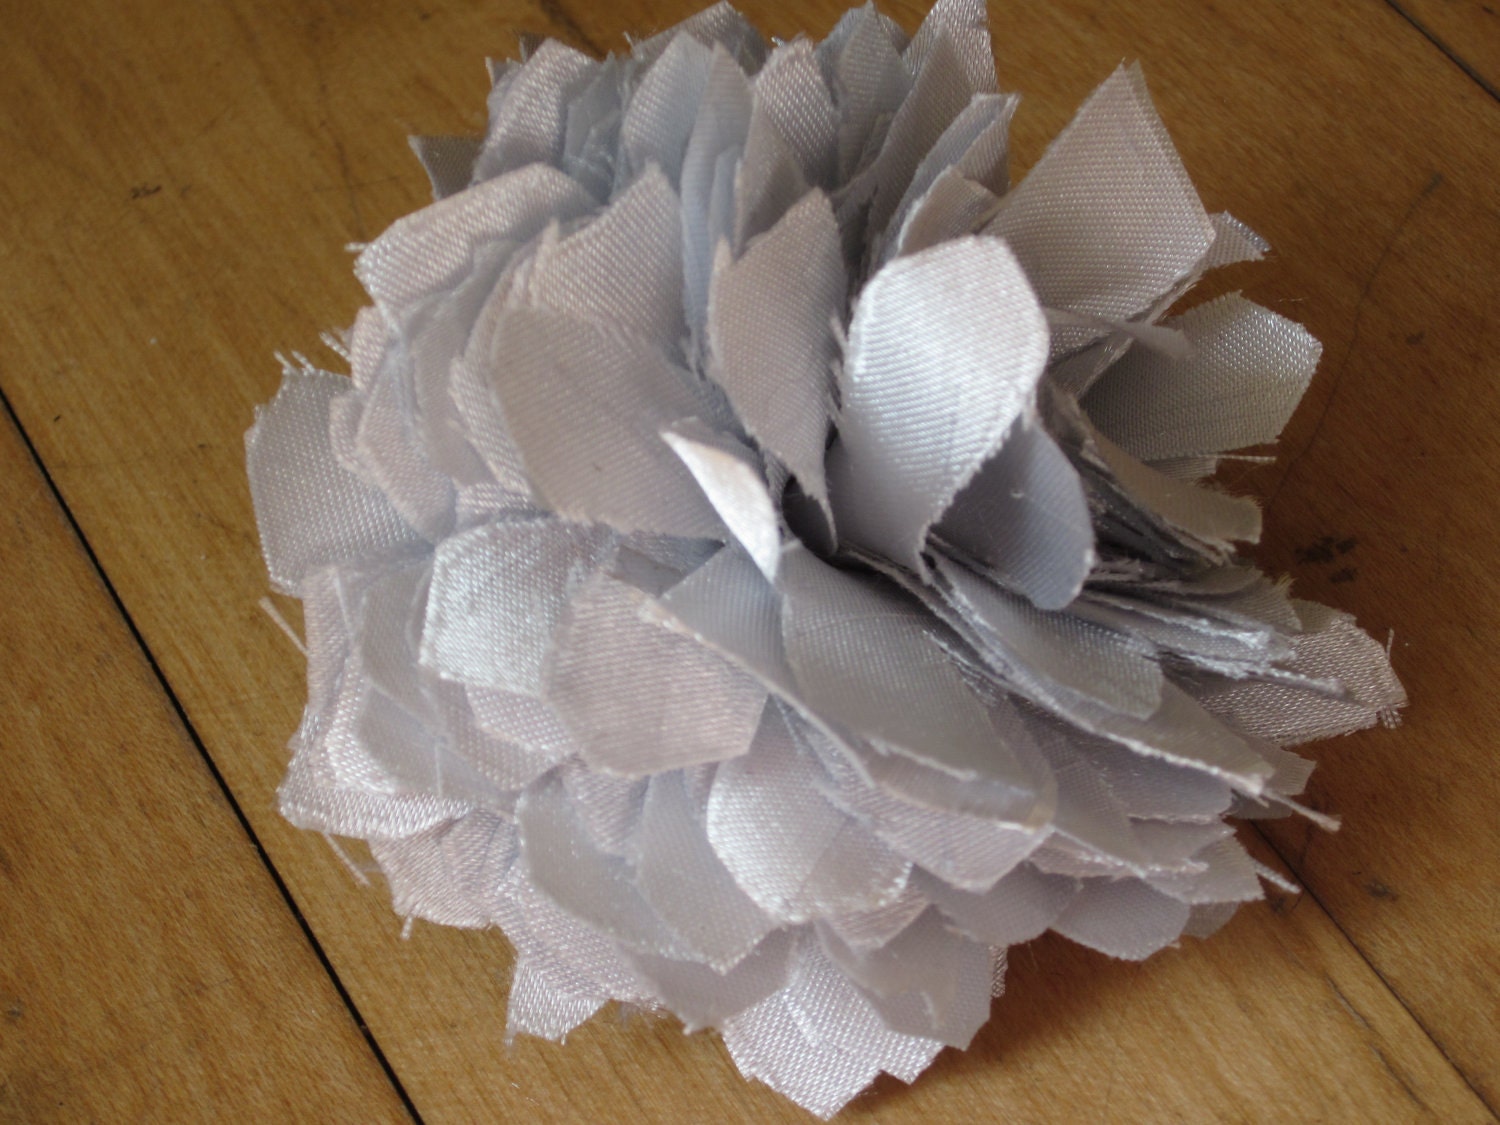
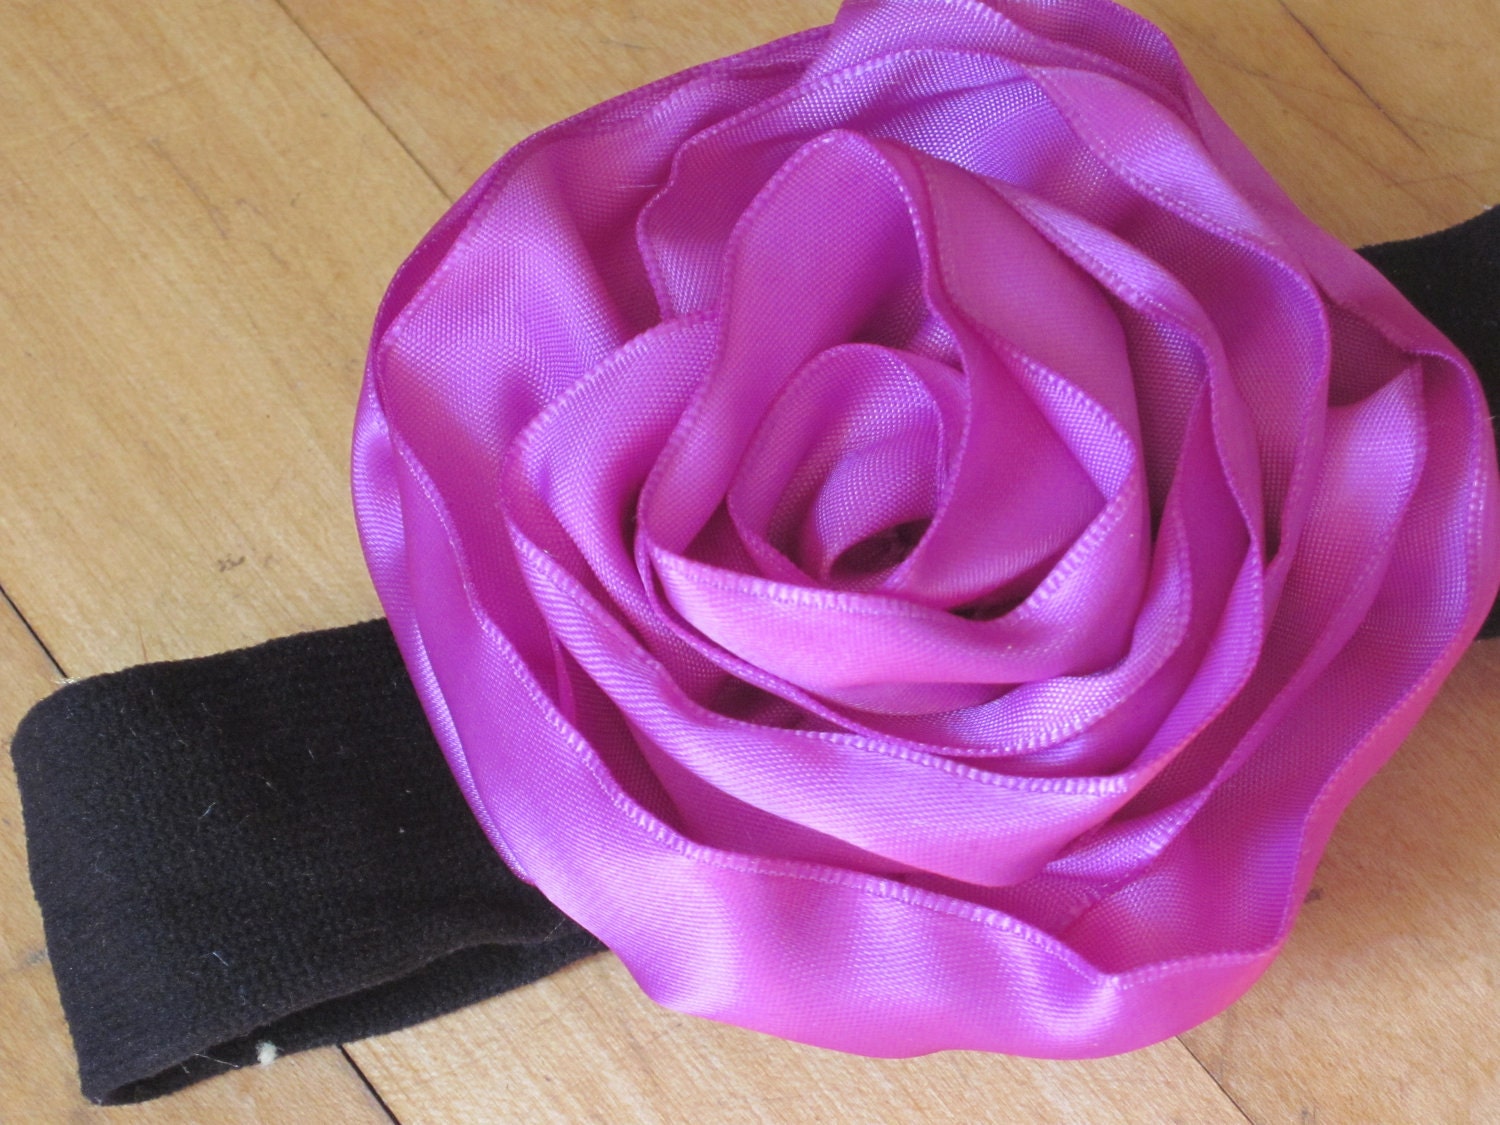
Oodles of new stuff in the Etsy shop. I'm loving the results of using fabric instead of ribbon for the flowers! Take a look.
Adult-y hipster chic stuff:
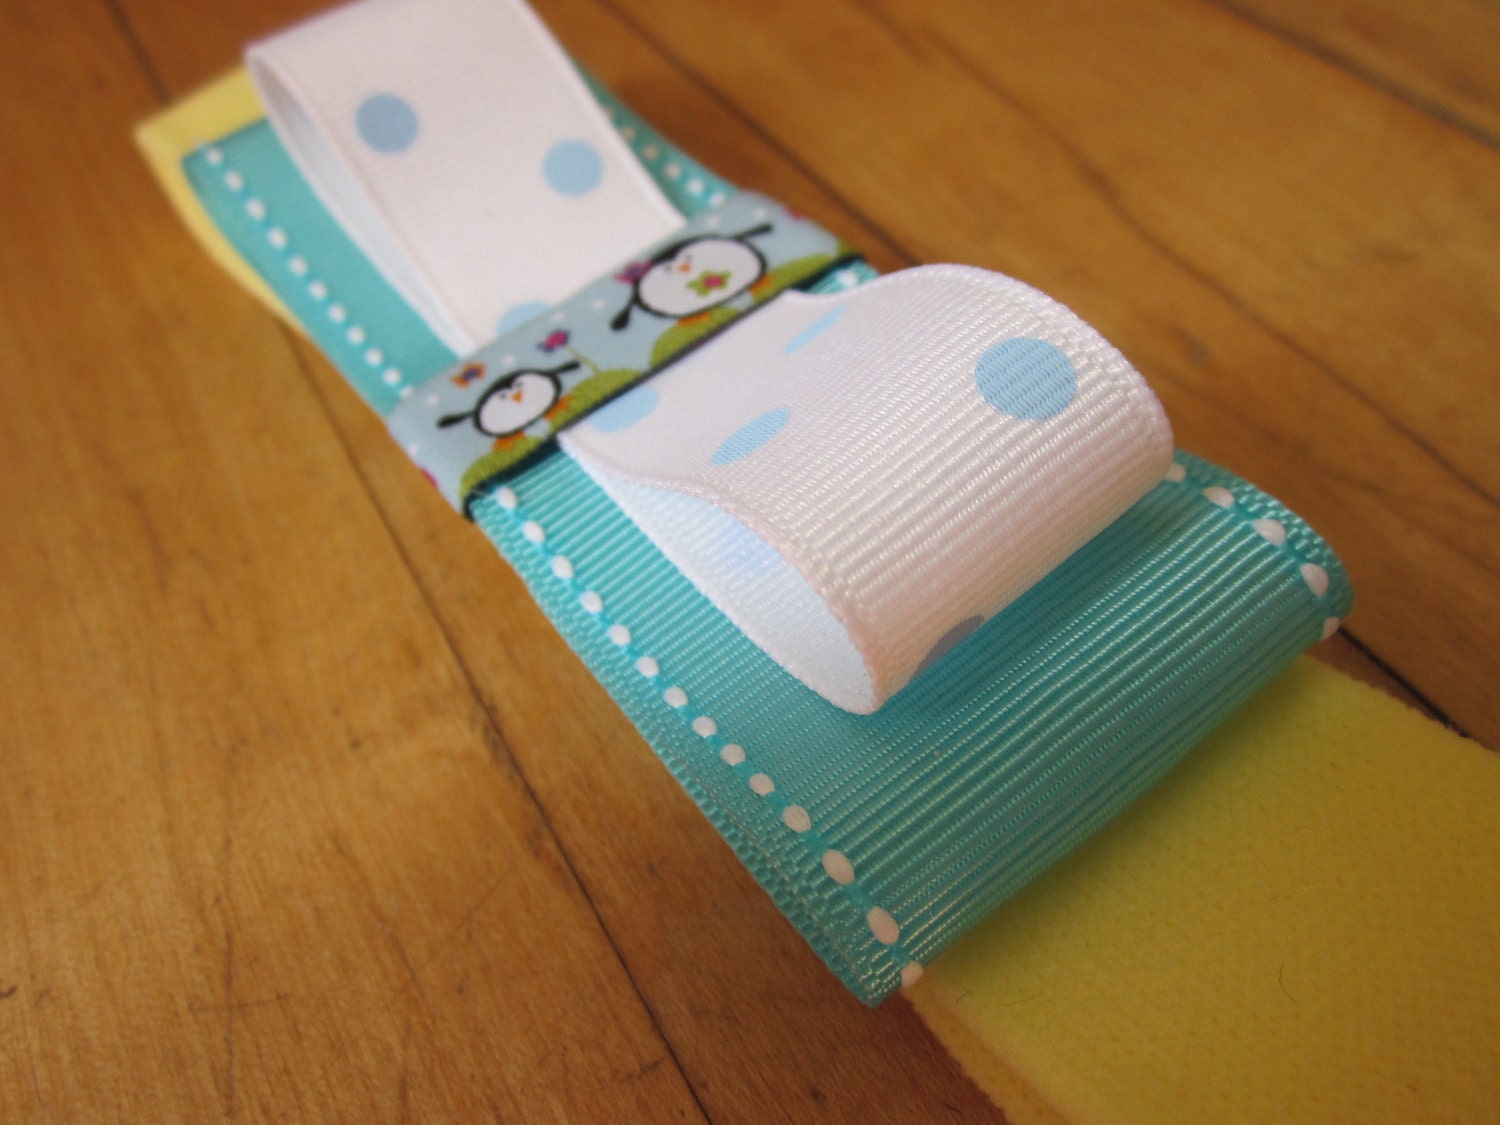
Cutesy stuff for little ones (or fans of the Japanese-esque adorable Hello-Kitty type styles):

 Let me know what you like, and I'll post some tutorials!
Adult-y hipster chic stuff:

Cutesy stuff for little ones (or fans of the Japanese-esque adorable Hello-Kitty type styles):
Sunday, May 8, 2011
Happy Mother's Day!
I've been doing lots of crafty experimenting this week, but it's mostly been fiddling with fabric, no photo-worthy process yet. (My new fabric flowers are looking pretty cool, though!) So more on that soon.

But I spent most of today with my mom, so I thought I'd just share the Martha Stewart tutorial for the card I made her. It's a super-cool pop-up boquet! It would be great for birthdays, anniversaries, whatever. It takes a little bit of time cutting out flowers, but it's actually really easy! Just go one step at a time and try not to think too far ahead. It will work out.
Photo from marthastewart.com
Sunday, May 1, 2011
It's Alive! MUAHAHAHA!
It was pretty out today, so while the hubby and I were out adventuring, we couldn't resist stopping at the garden store. Remember that organized, thought-out garden plan I posted a couple weeks ago? Yeah ... that went out the window.
So first of all, we discovered what is by far the best local garden store to obtain veggie starts and seeds - Minor's. Yay! This was a big problem we ran into in the fall - everybody around here mostly sells flowers. So we stocked up.
And by stocked up, I mean "went completely overboard." We got an entire flat of strawberry starts. That resulted in four hanging pots:
 And overflowed into three more pots that we thankfully had sitting in the garage.
 We mixed Ozark Beauty, which is an ever-bearing variety, and Allstar, which is June-bearing. So we should have a nice crop in June, but still be able to pluck the occasional delicious ripe berry throughout the summer. Om nom nom.
Then we picked up seeds for the rest of the summer. We didn't get eveything - I want to use starts for the big mid-summer plants, like tomatoes, cukes, and peppers. Our season isn't very long, so I want to maximize our growing time by using transplants rather than seeds. It's too early to put those seedlings out now, however, and we don't really have any good sunny indoor space to keep them until next month. So those will come later.
So here are some things we can plant now:

A few that we will start from seed once we're frost-free (I'm thinking around Memorial Day):

A side note here: potatoes are the COOLEST THING EVER to grow. We planted them last year with pretty much zero foreknowledge of what they were going to look like - and they send up huge bushy sprouts that take up tons of space! And then when you harvest them, there's a huge crop of potatoes under there. SO. AWESOME.
Also, see the pumpkins? My obsession. This will be my first time having my very own pumpkin patch. ::squee::!
And finally, a few things that will survive into the fall:

Notice carrots are in several of these groups. Hooray carrots! The ones I plant late-season will actually taste sweeter than the summer harvest, because when it gets cold the starches in the carrot will be converted into sugars.
We'll see if we want to plant out the whole garden with what we have here, or if we need another couple of things to fill in. So much for pre-planning.
Also, both types of garlic have magically survived several rounds of snow and hail. They even look pretty good! I was under the impression that soft neck and hard neck garlic would put up different types of leaves, but honestly right now I can't tell them apart. But they're alive! Yay!

So I'm all full of nature-y happiness and hope. I can't wait for things to start to sprout!!
So first of all, we discovered what is by far the best local garden store to obtain veggie starts and seeds - Minor's. Yay! This was a big problem we ran into in the fall - everybody around here mostly sells flowers. So we stocked up.
And by stocked up, I mean "went completely overboard." We got an entire flat of strawberry starts. That resulted in four hanging pots:


Then we picked up seeds for the rest of the summer. We didn't get eveything - I want to use starts for the big mid-summer plants, like tomatoes, cukes, and peppers. Our season isn't very long, so I want to maximize our growing time by using transplants rather than seeds. It's too early to put those seedlings out now, however, and we don't really have any good sunny indoor space to keep them until next month. So those will come later.
So here are some things we can plant now:

A few that we will start from seed once we're frost-free (I'm thinking around Memorial Day):

A side note here: potatoes are the COOLEST THING EVER to grow. We planted them last year with pretty much zero foreknowledge of what they were going to look like - and they send up huge bushy sprouts that take up tons of space! And then when you harvest them, there's a huge crop of potatoes under there. SO. AWESOME.
Also, see the pumpkins? My obsession. This will be my first time having my very own pumpkin patch. ::squee::!
And finally, a few things that will survive into the fall:

Notice carrots are in several of these groups. Hooray carrots! The ones I plant late-season will actually taste sweeter than the summer harvest, because when it gets cold the starches in the carrot will be converted into sugars.
We'll see if we want to plant out the whole garden with what we have here, or if we need another couple of things to fill in. So much for pre-planning.
Also, both types of garlic have magically survived several rounds of snow and hail. They even look pretty good! I was under the impression that soft neck and hard neck garlic would put up different types of leaves, but honestly right now I can't tell them apart. But they're alive! Yay!

So I'm all full of nature-y happiness and hope. I can't wait for things to start to sprout!!
Tuesday, April 26, 2011
Pink Skulls Double-Decker Hairbow Now Available!
I finally got the pink skull ribbon bow barrette from the post Sugar, Spice, and Skulls up on Etsy! Buy it before it goes - it's one of a kind! (More cute ribbons in a similar design to come.) Check it out!

Saturday, April 23, 2011
Sushi!
Tonight's adventure: sushi! We cracked out the wedding-gift sushi set (only a year and a half later ...) and got to it. The hubs and I have been dreaming about hosting sushi parties, so we figured step 1 was actually figuring out how to make it. And you know what? It's ridiculously easy.
One caveat, for the sushi gourmet - when I say "sushi", I mean "maki rolls." More specifically, I mean maki rolls made without any raw fish. I love raw fish in my maki at very high-quality restaurants, but I just doubt that I can get and safely work with sushi-grade fish when I'm 2000 miles from the ocean.
So, anyway, veggie maki rolls are really easy!
We hauled out the bamboo mat, which I thought would be hard to work with but wasn't. Our mystery sources (i.e. YouTube) recommended covering the mat in plastic wrap to minimize sticking. Sticky sushi rice is really, seriously sticky. Who would have thought.
Then lay out a sheet of seaweed. We got some really nice nori at the local co-op. My husband swears everything there is organic, although I'm skeptical about the existence of certified organic seaweed. Apparently darker color = better quality. (Thanks again, YouTube.)


Fill a small bowl with water and get your hands wet. This is by far the most important step if you don't want to wind up with sushi rice stuck all over EVERYTHING. Then, with wet hands, grab a hunk of your prepared sushi rice (we used this recipe from Alton Brown) and press it firmly into your nori.


 Go pretty much all the way to the edges, but leave a little space - maybe half an inch or so - at the end, so you won't squish rice out the end when you make the roll.
Place fillings at one end (we made cucumber roll for me, and Philadelphia roll - cream cheese and lox - for the hubby.)
 Then roll! Your first roll you need to move somewhat quickly - don't rush, just don't hesitate. You're trying to completely enclose the fillings. After you roll, make the roll tight by squeezing the bamboo mat at the bottom of the new roll (where my fingers are in the pic below.)

Repeat until you're all the way at the edge ...

Then lift the mat away, and voila! It's like magic!

To make eight even pieces (we tried six the first time, and the pieces were HUGE. We couldn't fit them in our mouths. This resulted in some hilarious photos of my hubby with half a piece hanging out of his mouth, which I will not be sharing because I like being married.) Anywho, to make eight even pieces, we're going to cut the roll in half several times. Use a wet knife to avoid sticking! First cut it in half once and line the halves up.


 Ta-dah!


One caveat, for the sushi gourmet - when I say "sushi", I mean "maki rolls." More specifically, I mean maki rolls made without any raw fish. I love raw fish in my maki at very high-quality restaurants, but I just doubt that I can get and safely work with sushi-grade fish when I'm 2000 miles from the ocean.
So, anyway, veggie maki rolls are really easy!
We hauled out the bamboo mat, which I thought would be hard to work with but wasn't. Our mystery sources (i.e. YouTube) recommended covering the mat in plastic wrap to minimize sticking. Sticky sushi rice is really, seriously sticky. Who would have thought.
Then lay out a sheet of seaweed. We got some really nice nori at the local co-op. My husband swears everything there is organic, although I'm skeptical about the existence of certified organic seaweed. Apparently darker color = better quality. (Thanks again, YouTube.)


Place fillings at one end (we made cucumber roll for me, and Philadelphia roll - cream cheese and lox - for the hubby.)


Repeat until you're all the way at the edge ...

Then lift the mat away, and voila! It's like magic!

To make eight even pieces (we tried six the first time, and the pieces were HUGE. We couldn't fit them in our mouths. This resulted in some hilarious photos of my hubby with half a piece hanging out of his mouth, which I will not be sharing because I like being married.) Anywho, to make eight even pieces, we're going to cut the roll in half several times. Use a wet knife to avoid sticking! First cut it in half once and line the halves up.

Then...


(Note that these are the first batch of uber-huge rolls. That's why they're already starting to unroll - the small ones, which we cut smaller and used less rice for, held together much better.)
It looks beautiful like this for a few minutes, but then it's so nummy that it will shortly look like this:

Sunday, April 17, 2011
Sugar, Spice, and Skulls
I just got a stash of THE MOST ADORABLE ribbon from one of my fave Etsy sellers, chickadee supplies. (That means you'll probably be seeing several posts in which I try to find the best possible project for my lovelies.) This pink and gray skulls pattern inspired me to make a double-decker hairbow. So here it is!

And here's how I made it.
First, I measured out three pieces of the pink satin ribbon. I made some loops in my hand to get a general idea of how bit I wanted them. (This was maybe not the best idea. Stay tuned ...) Don't worry about making the edges nice; they won't show.


Mark the middle of each piece, and fold one side to the middle. You can stitch or hot glue it in place. I prefer hot glue, because while it's not important to have the edges be pretty, it is very important to have these folds lie perfectly straight. If you're at even a small angle, the bow will look wonky. I find it's easier to nail the loop in place with hot glue than with thread.

Repeat with the other side.
 Then do it again with the remaining pieces. Once they're all done, you can glue or stitch them together. Make sure to keep the glued/stitched edges facing the same way (all up or all down.) That way, you can hide them all on the bottom later.
Except, my three-piece bow looks kind of sparse and depressing.

Time for one more ribbon.

Much better!
... Except for one thing. This bow is enormous. Way too big to put on somebody's head, especially if that somebody hasn't started reading chapter books yet.
 It's way bigger than the spool of ribbon, and almost as big as my scissors. Oops.
I cut four new pieces, this time 8" long. Way better. Then I repeated the entire process above, but with my skulls ribbon. And I started with four pieces this time. I'm not that dumb. Because I want the pink to stick out from underneath, I cut each piece 1" shorter (that's 7", for the math challenged.)

The result:

Then glue or stitch the top bow onto the larger bottom bow.

Now add the barrette. Just hot glue it to be bottom-most large ribbon. (I switched this step and the next one - I put on the center button before I attached the barrette, and wound up with a button pointing sideways. Then I had to rip it apart and adjust. If you have a shaped button instead of just a round one, think about how you're laying this thing out before you glue. It doesn't actually matter what order you use here, as long as you think about the layout ahead of time. Not my strong suit.)

And now, ze button.

Lovely!
I'll be adding this and other new hair pretties to my Etsy shop soon. I'm not really sure how to post them, though. Right now I have all my barrettes in one posting, but that does make it hard to showcase unique pieces. However, I'll have to raise the price a little - probably 50 cents - to have individual listings. What do you think? What matters more - price or ease of browsing/buying?

And here's how I made it.
First, I measured out three pieces of the pink satin ribbon. I made some loops in my hand to get a general idea of how bit I wanted them. (This was maybe not the best idea. Stay tuned ...) Don't worry about making the edges nice; they won't show.


Mark the middle of each piece, and fold one side to the middle. You can stitch or hot glue it in place. I prefer hot glue, because while it's not important to have the edges be pretty, it is very important to have these folds lie perfectly straight. If you're at even a small angle, the bow will look wonky. I find it's easier to nail the loop in place with hot glue than with thread.

Repeat with the other side.

Except, my three-piece bow looks kind of sparse and depressing.

Time for one more ribbon.

Much better!
... Except for one thing. This bow is enormous. Way too big to put on somebody's head, especially if that somebody hasn't started reading chapter books yet.

I cut four new pieces, this time 8" long. Way better. Then I repeated the entire process above, but with my skulls ribbon. And I started with four pieces this time. I'm not that dumb. Because I want the pink to stick out from underneath, I cut each piece 1" shorter (that's 7", for the math challenged.)

The result:

Then glue or stitch the top bow onto the larger bottom bow.

Now add the barrette. Just hot glue it to be bottom-most large ribbon. (I switched this step and the next one - I put on the center button before I attached the barrette, and wound up with a button pointing sideways. Then I had to rip it apart and adjust. If you have a shaped button instead of just a round one, think about how you're laying this thing out before you glue. It doesn't actually matter what order you use here, as long as you think about the layout ahead of time. Not my strong suit.)

And now, ze button.

Lovely!
I'll be adding this and other new hair pretties to my Etsy shop soon. I'm not really sure how to post them, though. Right now I have all my barrettes in one posting, but that does make it hard to showcase unique pieces. However, I'll have to raise the price a little - probably 50 cents - to have individual listings. What do you think? What matters more - price or ease of browsing/buying?
Subscribe to:
Posts (Atom)